Imagine biting into something warm and crispy, only to find a creamy, melt-in-your-mouth cheesecake inside. That’s the magic of tempura cheesecake. This incredible dessert takes classic New York cheesecake and gives it a Japanese twist by dipping it in light tempura batter and frying it to golden perfection. The result is an unforgettable combination of hot and cold, crunchy and creamy that’s taking the dessert world by storm. If you’re looking for a show-stopping treat that will wow your guests, you’ve come to the right place. Let’s dive into the delicious world of fried cheesecake!
What is Tempura Cheesecake? A Sweet Surprise
Tempura cheesecake is exactly what it sounds like – creamy cheesecake that’s been coated in tempura batter and deep-fried. The concept might sound unusual at first, but it creates an amazing contrast of textures and temperatures. You get the light, crispy shell of traditional Japanese tempura surrounding rich, cold cheesecake. When you bite into it, the hot crispy exterior gives way to cool, creamy perfection inside. It’s become a popular dessert at Japanese restaurants and fusion eateries, but it’s surprisingly easy to make at home once you know the secrets.
Tempura Cheesecake The Perfect Base for Frying
Not every cheesecake works for tempura frying. You need a firm, dense cheesecake that can hold its shape when handled and fried. New York-style cheesecake is perfect because it’s rich and sturdy. Avoid no-bake cheesecakes or ones with loose, creamy textures – they’ll fall apart during frying. The cheesecake should be thoroughly chilled, preferably frozen for at least 2-4 hours before you start the tempura process. This helps it maintain its shape and prevents melting during frying. Cut your cheesecake into small, bite-sized pieces for easy handling and even cooking.
Creating the Perfect Tempura Batter
The batter is what makes tempura so special. A good tempura batter is light, crispy, and doesn’t become greasy. The secret is using ice-cold water and not overmixing. Combine cake flour or all-purpose flour with ice water, mixing just until combined – lumps are actually good! Some recipes add cornstarch or baking powder for extra crispiness. The cold batter creates steam when it hits the hot oil, which helps form that characteristic light, airy texture. Work quickly and don’t let the batter sit too long, as it will become gluey and lose its lifting power.
Tempura Cheesecake Choosing the Right Oil for Frying
The type of oil you use matters for both flavor and safety. You want an oil with a high smoke point that won’t burn at high temperatures. Vegetable oil, canola oil, or peanut oil are all excellent choices. Fill your pot or deep fryer with enough oil to completely submerge the cheesecake pieces – usually about 2-3 inches deep. Maintain the oil temperature between 350-375°F (175-190°C). Use a thermometer to monitor the temperature, as oil that’s too hot will burn the outside while leaving the inside cold, and oil that’s too cool will make the tempura greasy.
Tempura Cheesecake Step-by-Step Frying Instructions
Start with thoroughly chilled cheesecake pieces. Heat your oil to the proper temperature while you prepare the batter. Dip each cheesecake piece into the tempura batter, letting excess drip off. Carefully lower them into the hot oil using tongs or a slotted spoon. Don’t overcrowd the pot – fry in small batches to maintain oil temperature. Fry for 1-2 minutes until golden brown and crispy. Remove with a slotted spoon and drain on a wire rack or paper towels. The result should be beautifully golden pieces with creamy, intact cheesecake inside.
Delicious Dipping Sauces and Toppings
While tempura cheesecake is delicious on its own, sauces and toppings take it to the next level. A drizzle of chocolate or caramel sauce adds richness. Fruit coulis like raspberry or strawberry provide a tart contrast to the sweet cheesecake. For a traditional Japanese touch, serve with matcha powder or red bean paste. Powdered sugar dusted over the top is always a classic. You can even get creative with fruit compotes, whipped cream, or ice cream for an ultimate dessert experience. Let your imagination run wild!
Tempura Cheesecake Common Mistakes to Avoid
The biggest mistake is using cheesecake that isn’t cold enough. If it’s not properly chilled, it will melt and leak during frying. Don’t overmix the batter – lumps are fine and actually desirable. Avoid overcrowding the fryer, which drops the oil temperature and makes the tempura greasy. Don’t skip the draining step after frying – this ensures your tempura stays crispy. And never use cheesecake with fruit chunks or swirls, as the moisture can cause oil splatters and uneven cooking. Stick to plain, dense cheesecake for best results.
Serving Suggestions and Presentation
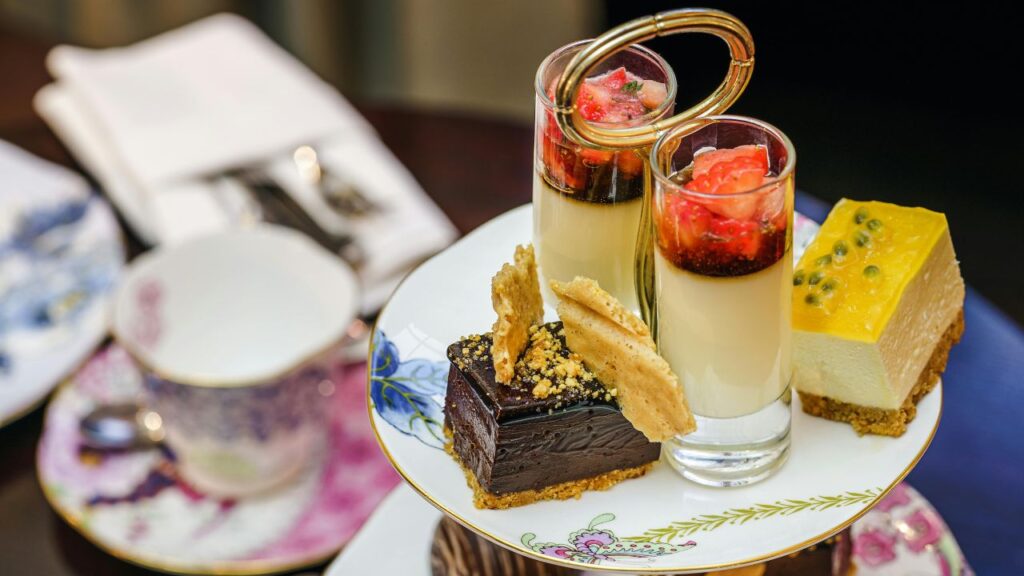
Tempura cheesecake is best served immediately while the exterior is still hot and crispy. Arrange 2-3 pieces on a plate with your chosen sauces drizzled artistically around them. A scoop of vanilla ice cream makes the perfect companion, highlighting the hot-cold contrast. For special occasions, serve on individual plates with edible flowers or mint sprigs for color. The presentation should be elegant but not overly complicated – let the dessert itself be the star. Remember, your guests will be breaking through that crispy shell to discover the creamy surprise inside!
Cheesecake Tempura vs. Regular Cheesecake
| Feature | Tempura Cheesecake | Regular Cheesecake |
| Texture | Hot & crispy outside, cold & creamy inside | Consistently creamy and smooth throughout |
| Temperature | Served warm/hot right after frying | Always served chilled or at room temperature |
| Preparation | Quick frying after chilling | Slow baking and extended chilling |
| Eating Experience | Exciting contrast of temperatures and textures | Classic, uniform creamy experience |
| Best For | Special occasions and adventurous eaters | Traditional desserts and make-ahead meals |
Tempura Cheesecake Making Ahead and Storage Tips
While best served fresh, you can prepare components in advance. The cheesecake can be made days ahead and frozen. The batter should always be made right before frying. If you have leftovers, store them in an airtight container in the refrigerator for up to 2 days. Reheat in a toaster oven or conventional oven at 350°F for 5-7 minutes to restore some crispiness. Avoid microwaving, as it will make the tempura soggy. For parties, you can fry batches and keep them warm in a 200°F oven for up to 30 minutes before serving.
FAQs
1. Can I use store-bought cheesecake for this recipe?
Yes! Store-bought cheesecake works perfectly. Just make sure it’s a dense, New York-style cheesecake and freeze it thoroughly before frying.
2. What’s the best oil for frying tempura cheesecake?
Use neutral oils with high smoke points like vegetable, canola, or peanut oil. They won’t burn at high temperatures and won’t overpower the delicate cheesecake flavor.
3. How do I keep the cheesecake from melting during frying?
Freeze your cheesecake pieces for at least 2-4 hours before frying. This is the most important step to prevent melting and maintain that perfect hot-cold contrast.
4. Can I make this dessert ahead of time?
You can prepare the cheesecake days in advance and freeze it, but fry just before serving for the best texture. The crispy tempura coating is best enjoyed fresh.
5. What are the best toppings for tempura cheesecake?
Chocolate sauce, caramel drizzle, fruit coulis, and powdered sugar all work wonderfully. A scoop of vanilla ice cream makes the perfect partner for the hot-cold contrast!